Kitchen cabinets take a lot of abuse.
They’re opened and closed dozens of times a day, splattered with grease, touched with sticky fingers, and exposed to steam and food residue.
Over time, grime builds up, and what once looked sleek and polished can start to feel dull and grimy.
The good news?
With the right approach, cleaning kitchen cabinets doesn’t have to be a dreaded chore.
This guide breaks down everything you need to know about cleaning kitchen cabinets, from everyday maintenance to deep cleaning and tackling stubborn grease.
Whether your cabinets are wood, laminate, or painted, this step-by-step guide will help bring them back to life.
Why Cleaning Kitchen Cabinets Matters
Keeping cabinets clean isn’t just about looks. It’s also about hygiene and longevity.
|
Reason |
Why It Matters |
|---|---|
|
Prevents Damage |
Grease and grime can break down finishes and paint over time. |
|
Improves Hygiene |
Food splatters and sticky residue can attract pests and bacteria. |
|
Maintains Appearance |
Clean cabinets make the whole kitchen look brighter and newer. |
|
Extends Lifespan |
Regular cleaning protects wood and finishes from wear. |
|
Easier Maintenance |
Frequent light cleaning prevents heavy buildup later. |
How Often Should You Clean Kitchen Cabinets?
|
Type of Cleaning |
Frequency |
What It Involves |
|---|---|---|
|
Light Cleaning |
Weekly |
Wipe down doors and handles with a damp cloth. |
|
Deep Cleaning |
Every 3–6 months |
Remove items, clean inside and out, and tackle grease. |
|
Spot Cleaning |
As needed |
Wipe spills or splatters immediately. |
Step 1: Empty the Cabinets
Start by removing everything from the cabinets. This gives you full access to all surfaces and helps you spot hidden crumbs or spills.
- Place items on a clean counter or table.
- Check expiration dates and toss anything old or unused.
- Wipe down jars and containers before putting them back later.
Step 2: Dust and Vacuum
Before using any cleaner, remove loose dust and debris.
- Use a microfiber cloth or a handheld vacuum with a brush attachment.
- Pay attention to corners, edges, and shelf seams where crumbs collect.
Step 3: Choose the Right Cleaner
Different cabinet materials need different cleaning methods. Using the wrong cleaner can damage finishes or leave streaks.
|
Cabinet Material |
Best Cleaner |
Avoid |
|---|---|---|
|
Wood |
Mild dish soap + warm water |
Harsh chemicals, ammonia, bleach |
|
Painted |
Vinegar + water or mild soap |
Abrasive scrubbers |
|
Laminate |
All-purpose cleaner or vinegar mix |
Strong solvents |
|
Glass Inserts |
Glass cleaner or vinegar + water |
Ammonia on tinted glass |
|
Metal Handles |
Vinegar + water or baking soda paste |
Steel wool |
Step 4: Make a Natural Cleaning Solution
If you prefer natural cleaners, here are a few simple recipes that work wonders:
|
Purpose |
Ingredients |
Instructions |
|---|---|---|
|
General Cleaning |
2 cups warm water + 1 tsp dish soap |
Mix in a spray bottle, shake gently. |
|
Grease Removal |
1 cup vinegar + 1 cup warm water |
Spray on greasy areas, let sit 5 minutes, wipe clean. |
|
Deep Cleaning |
1 tbsp baking soda + 2 cups warm water |
Use for sticky residue or heavy buildup. |
|
Deodorizing |
1 cup vinegar + 1 tbsp lemon juice |
Wipe inside cabinets to neutralize odors. |
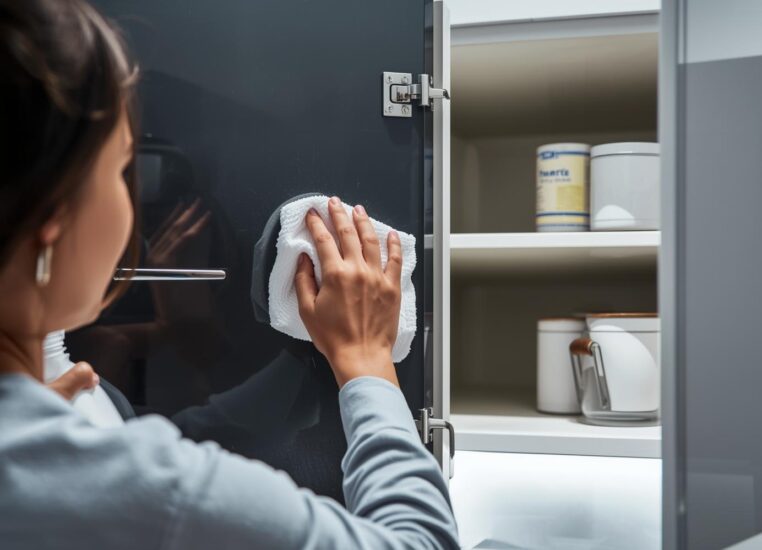
Step 5: Wipe Down the Exterior
Start with the cabinet doors and drawer fronts.
- Dip a soft cloth or sponge in your cleaning solution.
- Wring it out well. Too much water can damage wood or paint.
- Wipe in the direction of the grain (for wood cabinets).
- Rinse with a clean, damp cloth.
- Dry immediately with a towel to prevent streaks or water spots.
Tip: For stubborn spots, apply a bit of baking soda paste and gently scrub with a soft brush.
Step 6: Clean Handles, Knobs, and Pulls
Handles and knobs are some of the dirtiest parts of the kitchen.
|
Material |
Cleaning Method |
|---|---|
|
Metal |
Wipe with vinegar and water, dry thoroughly. |
|
Wood |
Use mild soap and water, avoid soaking. |
|
Ceramic |
Clean with dish soap and a soft cloth. |
If handles are removable, take them off and soak in warm, soapy water for 10–15 minutes. Dry completely before reattaching.
Step 7: Clean Inside the Cabinets
Once the outside is clean, move to the interior.
- Wipe shelves and walls with a damp cloth and mild cleaner.
- For sticky spots, use a baking soda paste.
- Dry thoroughly before putting items back.
If you use shelf liners, replace or wash them before restocking.
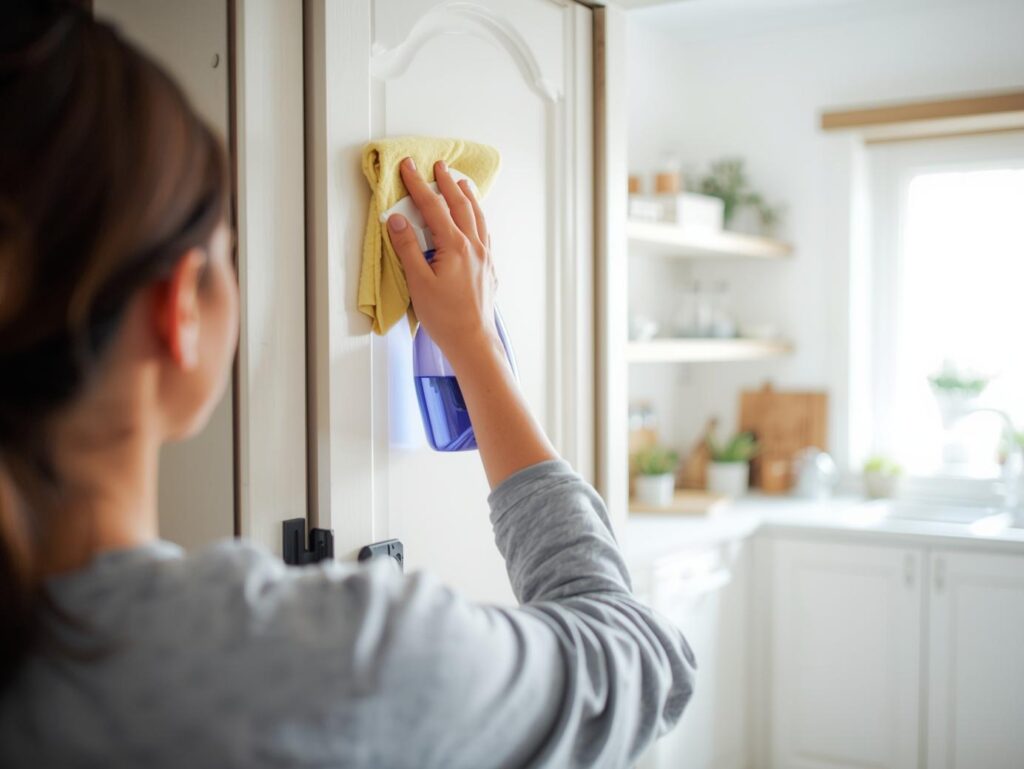
Step 8: Tackle Grease Buildup
Grease is the toughest part of cabinet cleaning, especially near the stove.
Vinegar and Dish Soap Method
- Mix equal parts vinegar and warm water.
- Add a few drops of dish soap.
- Spray on greasy areas and let sit for 5–10 minutes.
- Wipe with a damp cloth, then dry.
Baking Soda Paste
- Mix baking soda with a little water to form a paste.
- Apply to greasy spots.
- Let sit for 10 minutes.
- Scrub gently with a soft brush or sponge.
- Wipe clean and dry.
Lemon and Olive Oil Polish
For wood cabinets, mix 1 part lemon juice with 2 parts olive oil.
- Apply with a soft cloth.
- Buff to a shine.
This removes light grease and restores shine.
Step 9: Clean Cabinet Tops
If your cabinets don’t reach the ceiling, the tops can collect dust and grease.
- Use a vacuum or duster to remove loose debris.
- Wipe with vinegar and water or a degreaser.
- To make future cleaning easier, line the tops with wax paper or shelf liner it catches grease and can be replaced easily.
Step 10: Dry and Polish
Always dry cabinets thoroughly after cleaning. Moisture can warp wood or damage finishes.
For wood cabinets, consider applying a polish or conditioner once or twice a year to keep them looking rich and prevent drying out.
|
Product Type |
Purpose |
|---|---|
|
Wood Polish |
Adds shine and protects finish |
|
Mineral Oil |
Conditions wood and prevents cracking |
|
Beeswax Polish |
Natural protection and shine |
Cleaning Different Cabinet Finishes
|
Finish Type |
Cleaning Tips |
|---|---|
|
Matte |
Avoid oily polishes; use mild soap and water. |
|
Glossy |
Use a microfiber cloth to prevent streaks. |
|
Stained Wood |
Clean with wood-safe cleaner; polish occasionally. |
|
Painted |
Avoid harsh scrubbing; use gentle circular motions. |
|
Laminate |
Wipe with all-purpose cleaner; avoid soaking edges. |
Deep Cleaning Inside Drawers
Drawers collect crumbs, dust, and sometimes sticky residue.
- Remove all items.
- Vacuum out crumbs.
- Wipe with mild soap and water.
- Dry completely.
- Replace drawer liners if needed.
For utensil drawers, wash organizers in warm, soapy water before putting them back.
Cleaning Glass Cabinet Doors
Glass inserts add beauty but show fingerprints easily.
- Spray glass cleaner or vinegar-water mix on a cloth (not directly on the glass).
- Wipe gently to avoid streaks.
- Clean both sides if accessible.
- Polish with a dry microfiber cloth.
Cleaning Hinges and Hardware
Hinges can collect grime and dust over time.
- Wipe with a damp cloth and mild soap.
- For stubborn buildup, use a toothbrush dipped in vinegar.
- Dry thoroughly to prevent rust.
- Apply a drop of oil if hinges squeak.
Dealing with Stubborn Stains
|
Stain Type |
Solution |
Instructions |
|---|---|---|
|
Grease |
Baking soda paste |
Apply, let sit 10 minutes, wipe clean. |
|
Sticky residue |
Vinegar + water |
Spray, wait 5 minutes, wipe. |
|
Water stains |
Olive oil or wood polish |
Rub gently with a soft cloth. |
|
Crayon or marker |
Baking soda + water |
Scrub gently with a damp sponge. |
|
Mold or mildew |
Vinegar or hydrogen peroxide |
Spray, let sit, wipe clean. |
Preventing Future Buildup
|
Habit |
How It Helps |
|---|---|
|
Wipe spills immediately |
Prevents stains and sticky residue. |
|
Clean handles weekly |
Reduces grease and fingerprints. |
|
Use exhaust fan while cooking |
Minimizes grease buildup. |
|
Do a quick wipe-down weekly |
Keeps cabinets looking fresh. |
|
Line shelves and drawers |
Protects surfaces from spills. |
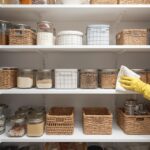
Organizing While You Clean
Cleaning is the perfect time to reorganize your cabinets.
|
Area |
Organization Tip |
|---|---|
|
Pantry items |
Group by category (baking, snacks, canned goods). |
|
Spices |
Use tiered racks or drawer inserts. |
|
Pots and pans |
Stack by size or hang on hooks. |
|
Cleaning supplies |
Store in a bin under the sink. |
|
Tupperware |
Match lids and containers, recycle extras. |
Natural vs. Commercial Cleaners
|
Type |
Pros |
Cons |
|---|---|---|
|
Natural (vinegar, baking soda, lemon) |
Eco-friendly, inexpensive, safe for most surfaces |
May require more scrubbing |
|
Commercial Cleaners |
Fast-acting, convenient |
Can contain harsh chemicals, may damage finishes |
If you prefer commercial products, choose ones labeled safe for your cabinet material.
Cleaning Cabinets by Location
Near the Stove
- Most grease buildup happens here.
- Use a degreaser or vinegar solution weekly.
Under the Sink
- Check for leaks or mold.
- Wipe with vinegar and dry thoroughly.
- Use bins to keep cleaning supplies organized.
Above the Refrigerator
- Dust and grease collect quickly.
- Wipe monthly with vinegar and water.
Seasonal Deep Cleaning Routine
|
Season |
Tasks |
|---|---|
|
Spring |
Empty all cabinets, wash shelves, polish wood. |
|
Summer |
Check for pests, clean under sink and fridge. |
|
Fall |
Wipe down doors, handles, and hardware. |
|
Winter |
Deep clean grease-prone areas near stove. |
Quick Cleaning Routine (10 Minutes a Week)
- Wipe cabinet doors with a damp cloth.
- Clean handles and knobs.
- Check for spills inside cabinets.
- Wipe visible grease spots near the stove.
- Dry surfaces with a towel.
This simple routine keeps cabinets looking great between deep cleans.
Common Mistakes to Avoid
|
Mistake |
Why It’s a Problem |
Better Approach |
|---|---|---|
|
Using too much water |
Can warp wood or damage finishes |
Use a damp, not wet, cloth |
|
Skipping drying |
Leaves streaks and water spots |
Always dry immediately |
|
Using harsh chemicals |
Can strip paint or finish |
Stick to mild cleaners |
|
Ignoring handles |
They harbor germs and grease |
Clean weekly |
|
Not cleaning regularly |
Leads to heavy buildup |
Do light cleaning weekly |
Frequently Asked Questions
Can I use vinegar on wood cabinets?
Yes, but dilute it with water (1:1 ratio) and avoid soaking. Always dry immediately.
How do I remove sticky residue from cabinets?
Use a mix of vinegar and warm water or a baking soda paste. Let it sit for a few minutes before wiping.
What’s the best way to clean painted cabinets?
Use mild dish soap and water. Avoid abrasive sponges or harsh chemicals.
How do I make my cabinets shine again?
For wood, use a polish or a mix of olive oil and lemon juice. For laminate, buff with a dry microfiber cloth.
How can I prevent grease buildup?
Use your range hood while cooking and wipe cabinets near the stove weekly.
Fun Facts About Kitchen Cabinets
- The average kitchen has over 20 cabinet doors and drawers.
- Grease particles from cooking can travel up to 10 feet.
- Regular cleaning can extend cabinet life by up to 10 years.
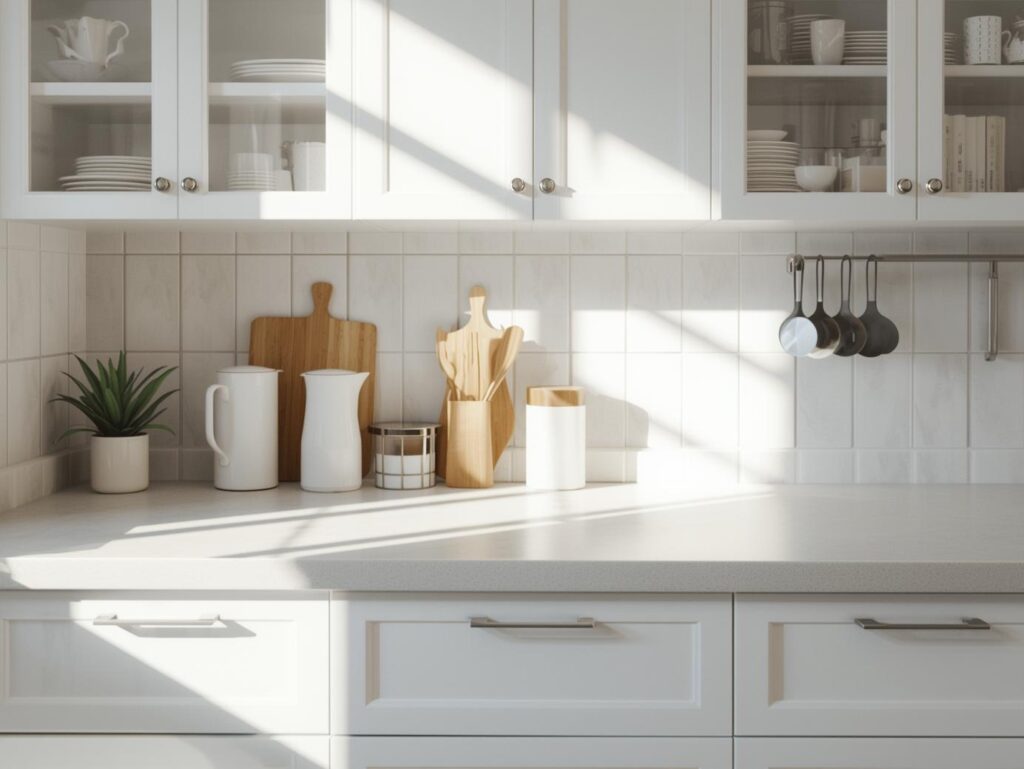
- White cabinets show dirt faster but are easier to spot-clean.
Final Thoughts
Cleaning kitchen cabinets might not be the most glamorous task, but it makes a huge difference in how your kitchen looks and feels.
With regular maintenance, the right cleaning methods, and a few smart habits, you can keep your cabinets spotless and beautiful for years.
Start small, tackle one section at a time, and before you know it, your kitchen will look fresh, organized, and ready for anything.