A refrigerator is one of the most important appliances in any home.
It keeps food fresh, prevents spoilage, and helps maintain a healthy kitchen environment.
But over time, spills, crumbs, and forgotten leftovers can turn it into a breeding ground for bacteria and unpleasant odors.
That’s why deep cleaning your fridge is essential not just for hygiene, but also for efficiency and food safety.
This guide provides a detailed, human-friendly approach to deep cleaning your fridge, complete with step-by-step instructions, practical tips, and easy-to-follow tables.
Why Deep Cleaning Your Fridge Matters
- Food Safety: Old spills and expired food can harbor harmful bacteria.
- Energy Efficiency: A clean fridge runs more efficiently, saving electricity.
- Odor Control: Regular cleaning prevents bad smells from lingering.
- Organization: A clean fridge makes it easier to find and store food.
- Longevity: Proper maintenance extends the life of the appliance.
Tools and Supplies You’ll Need
|
Item |
Purpose |
|---|---|
|
Mild dish soap |
General cleaning |
|
Baking soda |
Deodorizing and scrubbing |
|
White vinegar |
Disinfecting and removing stains |
|
Warm water |
Diluting cleaners |
|
Microfiber cloths |
Wiping surfaces |
|
Sponge or scrub brush |
Scrubbing stubborn spots |
|
Old toothbrush |
Cleaning small crevices |
|
Trash bags |
Discarding expired food |
|
Cooler with ice packs |
Storing perishable food temporarily |
|
Vacuum with brush attachment |
Cleaning coils and vents |
Step-by-Step Instructions for Deep Cleaning
Step 1: Prepare the Area
- Unplug the fridge for safety.
- Place a towel under the fridge to catch drips.
- Have a cooler ready for perishable items.
Step 2: Empty the Fridge
- Remove all food items.
- Check expiration dates and discard anything spoiled or questionable.
- Place perishable items in the cooler.
Quick Tip: Use this opportunity to take inventory of what you have.
Step 3: Remove Shelves and Drawers
- Take out all removable shelves, bins, and drawers.
- Let them warm to room temperature before washing to prevent cracking.
Step 4: Wash Shelves and Drawers
- Fill the sink with warm water and mild dish soap.
- Wash each piece thoroughly.
- For stubborn stains, sprinkle baking soda and scrub gently.
- Rinse and let air dry.
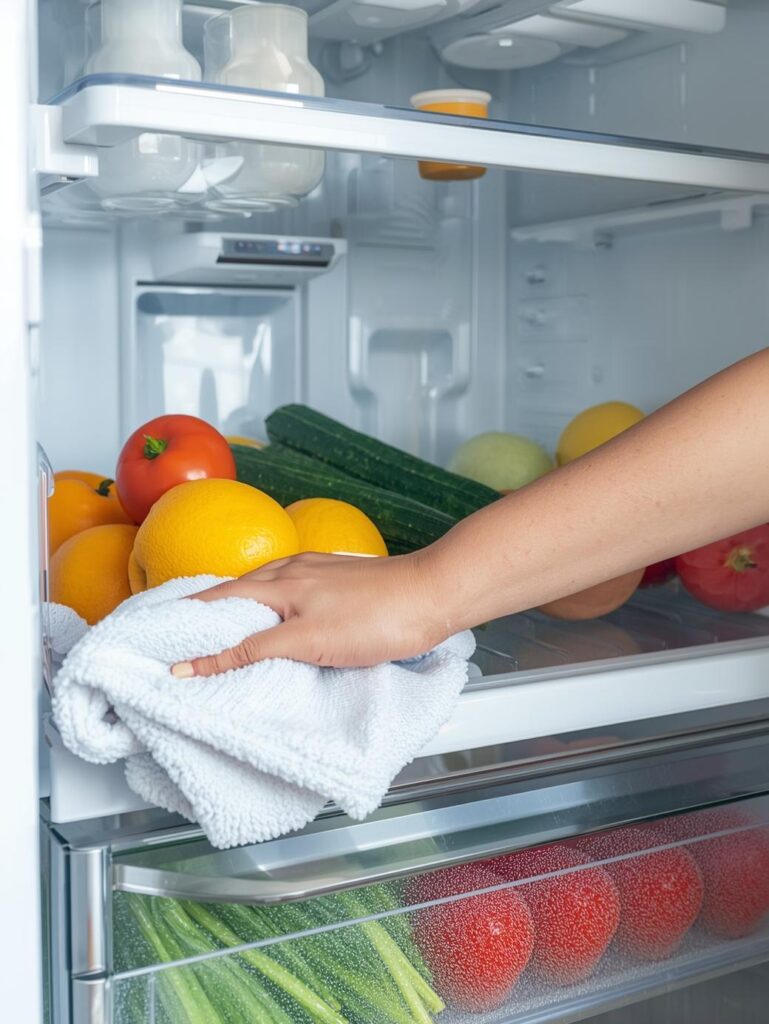
Step 5: Clean the Interior
- Mix a solution of 2 tablespoons baking soda with 1 quart warm water.
- Wipe down all interior surfaces with a sponge or cloth.
- For sticky spots, let the solution sit for a few minutes before scrubbing.
- Use an old toothbrush for corners and crevices.
Alternative Cleaner: Equal parts white vinegar and water for disinfecting.
Step 6: Deodorize
- Sprinkle baking soda on a damp cloth and wipe down surfaces.
- Place an open box of baking soda inside the fridge to absorb odors.
Step 7: Clean the Door Seals
- Dip a toothbrush in warm soapy water.
- Scrub the rubber gasket around the door.
- Wipe dry to prevent mold growth.
Step 8: Clean the Exterior
- Wipe the outside with warm soapy water.
- For stainless steel, use a microfiber cloth and vinegar for streak-free shine.
Step 9: Clean the Coils and Vents
- Pull the fridge away from the wall.
- Use a vacuum with a brush attachment to remove dust from coils.
- This improves efficiency and prevents overheating.
Step 10: Reassemble and Restock
- Once everything is dry, replace shelves and drawers.
- Plug the fridge back in.
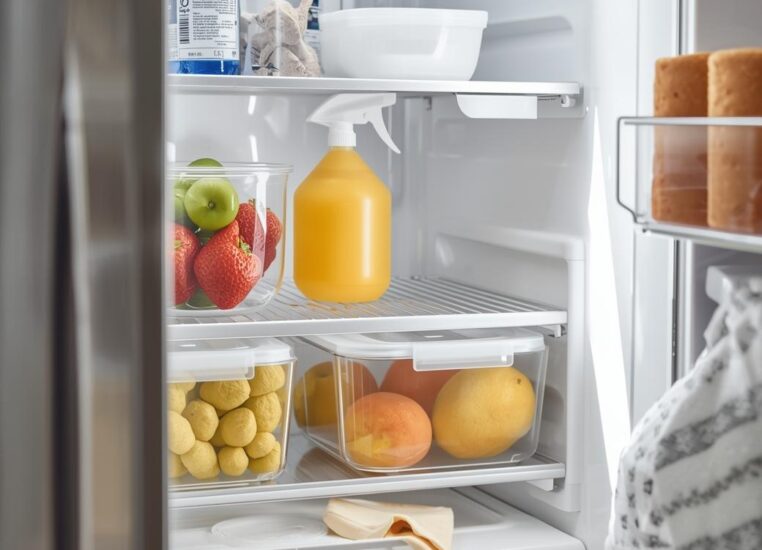
- Restock food, wiping jars and bottles before placing them inside.
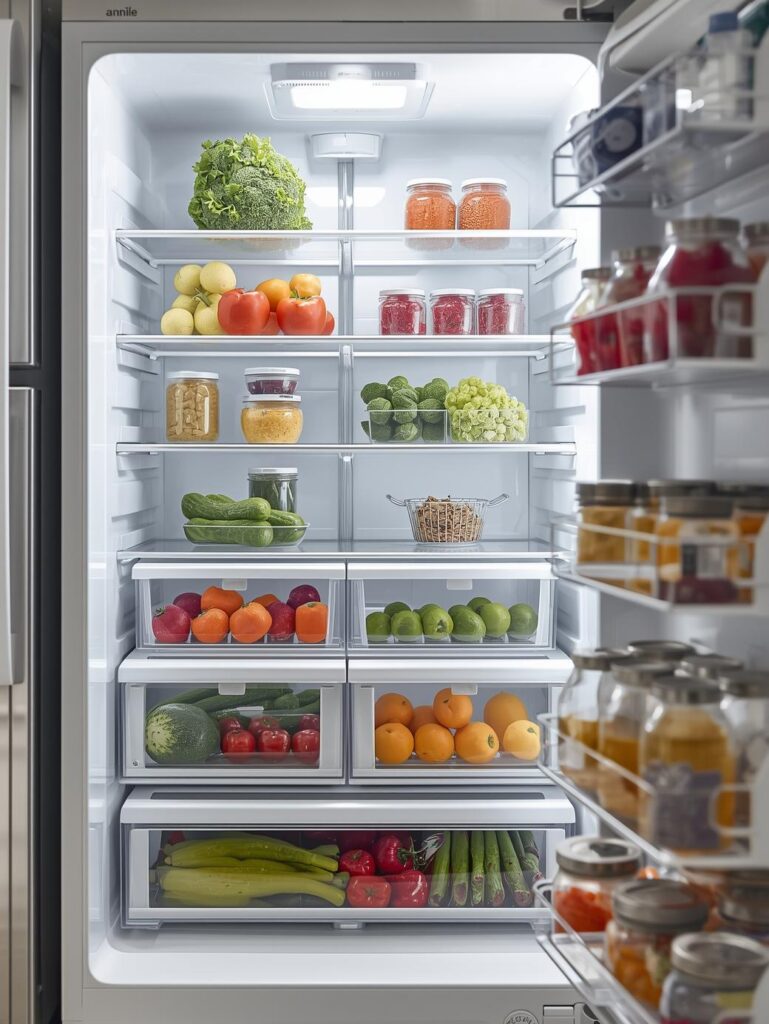
Organizing Your Fridge After Cleaning
A clean fridge is only as good as its organization. Proper storage keeps food fresh longer and prevents cross-contamination.
|
Fridge Section |
Best Items to Store |
|---|---|
|
Top shelf |
Leftovers, ready-to-eat foods, drinks |
|
Middle shelves |
Dairy products, eggs |
|
Bottom shelf |
Raw meat, poultry, fish (in sealed containers) |
|
Crisper drawers |
Fruits in one, vegetables in another |
|
Door shelves |
Condiments, juices, butter (avoid milk and eggs here) |
Tip: Label leftovers with dates to avoid forgetting them.
How Often Should You Deep Clean?
- Quick wipe-down: Weekly
- Check for expired food: Every 2 weeks
- Deep clean: Every 3–4 months
- Coil cleaning: Twice a year
Troubleshooting Common Fridge Issues
|
Problem |
Possible Cause |
Solution |
|---|---|---|
|
Bad odor |
Spoiled food, spills |
Deep clean, use baking soda |
|
Frost buildup |
Door not sealing properly |
Check gasket, avoid overloading |
|
Fridge too warm |
Dirty coils, blocked vents |
Clean coils, rearrange items |
|
Water pooling |
Clogged drain |
Clean drain hole with warm water |
Extra Tips for Maintaining a Fresh Fridge
- Keep raw meat in sealed containers to prevent leaks.
- Store herbs in jars of water with a plastic bag over the top.
- Use clear bins to group similar items.
- Wipe spills immediately to prevent sticky buildup.
- Rotate food—place newer items behind older ones.
DIY Natural Cleaning Solutions
|
Solution |
Ingredients |
Use |
|---|---|---|
|
Baking soda scrub |
Baking soda + water |
Removing stains and deodorizing |
|
Vinegar spray |
Equal parts vinegar + water |
Disinfecting surfaces |
|
Lemon freshener |
Lemon juice + water |
Neutralizing odors |
Safety Precautions
- Always unplug before deep cleaning.
- Avoid harsh chemicals like bleach inside the fridge.
- Do not use hot water on cold glass shelves (they may crack).
- Ensure everything is completely dry before plugging back in.
Sample Cleaning Schedule
|
Task |
Frequency |
|---|---|
|
Wipe spills |
Immediately |
|
Check for expired food |
Weekly |
|
Quick wipe-down |
Weekly |
|
Deep clean interior |
Every 3–4 months |
|
Clean coils |
Every 6 months |
Advanced Tips for a Truly Spotless Fridge
1. Cleaning the Drain Hole and Drip Pan
Most fridges have a small drain hole at the back to collect condensation. Over time, this can clog with food particles. Use a pipe cleaner or cotton swab dipped in warm water to clear it. If your fridge has a drip pan underneath, carefully remove it, wash with soapy water, and dry before replacing.
2. Using Natural Odor Absorbers
Besides baking soda, other natural odor absorbers include:
- Activated charcoal in a small container.
- Coffee grounds in a bowl.
- Cotton balls soaked in vanilla extract for a pleasant scent.
3. Labeling and Rotation System
Create a simple system to avoid food waste:
- Use masking tape and a marker to label leftovers with the date.
- Follow the “first in, first out” rule—older items should be used before newer ones.
4. Seasonal Deep Cleaning
Tie fridge cleaning to seasonal events. For example:
- Spring: After winter holidays, clear out heavy foods and leftovers.
- Summer: Focus on fresh produce storage and preventing mold.
- Fall: Prepare for holiday cooking by making space.
- Winter: Clean before stocking up for festive meals.
Common Mistakes to Avoid
- Using harsh chemicals: Strong cleaners can leave harmful residues. Stick to mild soap, vinegar, or baking soda.
- Skipping the seals: Dirty gaskets reduce efficiency and allow warm air inside.
- Overloading the fridge: Too much food blocks airflow and strains the motor.
- Neglecting the freezer: Freezers also need regular defrosting and cleaning.
- Not drying shelves properly: Moisture can lead to mold growth.
Freezer Deep Cleaning Tips
Since the freezer is part of the fridge, it deserves attention too.
- Unplug the fridge or switch off the freezer setting.
- Remove all frozen food and place it in a cooler.
- If frost has built up, let it melt naturally or place bowls of hot water inside to speed up the process.
- Wipe down with a vinegar-water solution.
- Dry thoroughly before restocking.
Tip: Use airtight containers or freezer bags to prevent freezer burn.
Eco-Friendly Cleaning Practices
- Use reusable microfiber cloths instead of paper towels.
- Opt for natural cleaners like vinegar and baking soda.
- Compost spoiled fruits and vegetables instead of throwing them away.
- Donate unopened, safe-to-eat items you no longer want.
Long-Term Benefits of Regular Deep Cleaning
- Healthier Kitchen Environment: Reduces bacteria and mold growth.
- Lower Energy Bills: Clean coils and vents improve efficiency.
- Less Food Waste: Organized storage helps track expiration dates.
- Extended Appliance Life: Prevents breakdowns and costly repairs.
- Peace of Mind: A clean fridge makes meal prep easier and more enjoyable.
Conclusion
Deep cleaning your fridge may seem like a big task, but with the right approach, it becomes manageable and rewarding.
A clean fridge not only looks better but also keeps food safer, reduces odors, and helps the appliance run efficiently.
By following the step-by-step instructions, using natural cleaning solutions, and maintaining a regular schedule, any fridge can stay fresh and organized year-round.
A little effort every few months goes a long way in keeping the heart of the kitchen clean, safe, and efficient.
With consistent care, the fridge becomes more than just an appliance; it becomes a reliable partner in maintaining a healthy home.