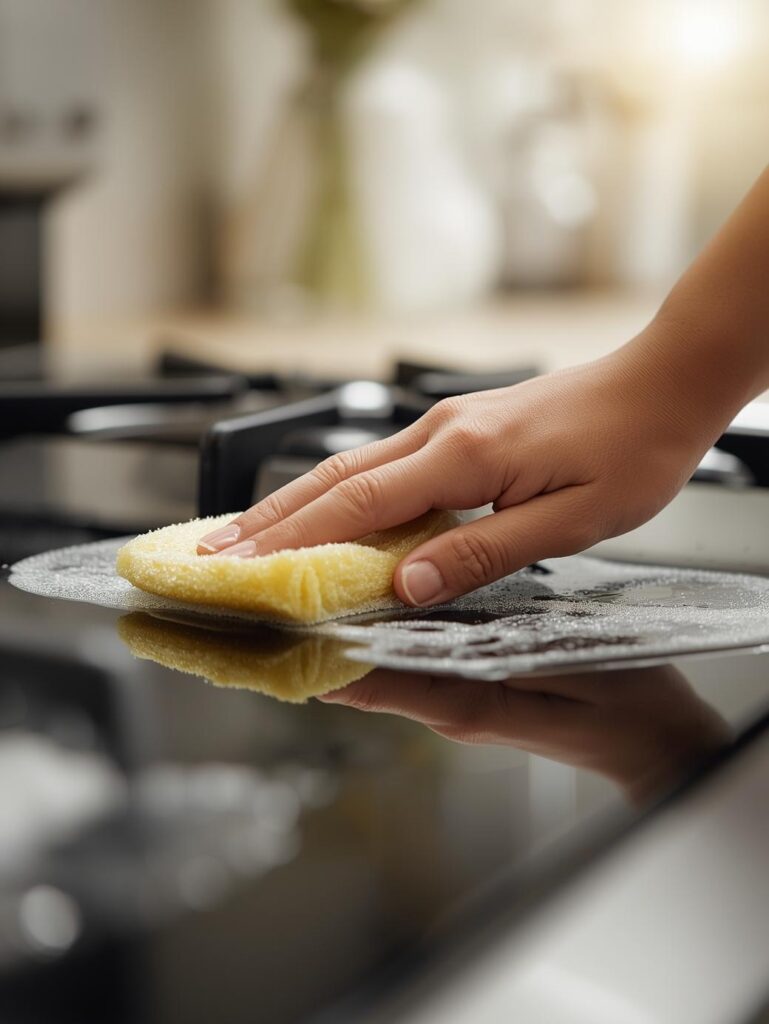
A greasy stove can make even the cleanest kitchen look messy.
Over time, cooking oils, food splatters, and steam build up into a sticky layer that’s tough to remove.
Regular cleaning not only keeps the stove looking spotless but also improves its efficiency and extends its lifespan.
This guide provides a step-by-step process, practical tips, and easy-to-follow instructions to clean a greasy stove thoroughly.
Why Cleaning a Greasy Stove Matters
- Hygiene: Grease attracts dust, bacteria, and pests.
- Safety: Built-up grease is flammable and can cause kitchen fires.
- Efficiency: A clean stove heats evenly and works better.
- Aesthetics: A sparkling stove makes the kitchen more inviting.
Tools and Supplies Needed
|
Item |
Purpose |
|---|---|
|
Dish soap |
Cuts through grease |
|
Baking soda |
Natural abrasive cleaner |
|
White vinegar |
Breaks down grease and disinfects |
|
Microfiber cloths |
Gentle cleaning without scratches |
|
Scrub brush or sponge |
Removes stubborn stains |
|
Toothbrush |
Cleans small crevices |
|
Plastic scraper |
Lifts hardened grease |
|
Paper towels |
Quick wipe-downs |
|
Gloves |
Protects hands from chemicals |
Step-by-Step Cleaning Instructions
Step 1: Preparation
- Turn off the stove and ensure it’s completely cool.
- Remove grates, burner caps, and knobs.
- Place removable parts in warm, soapy water to soak.
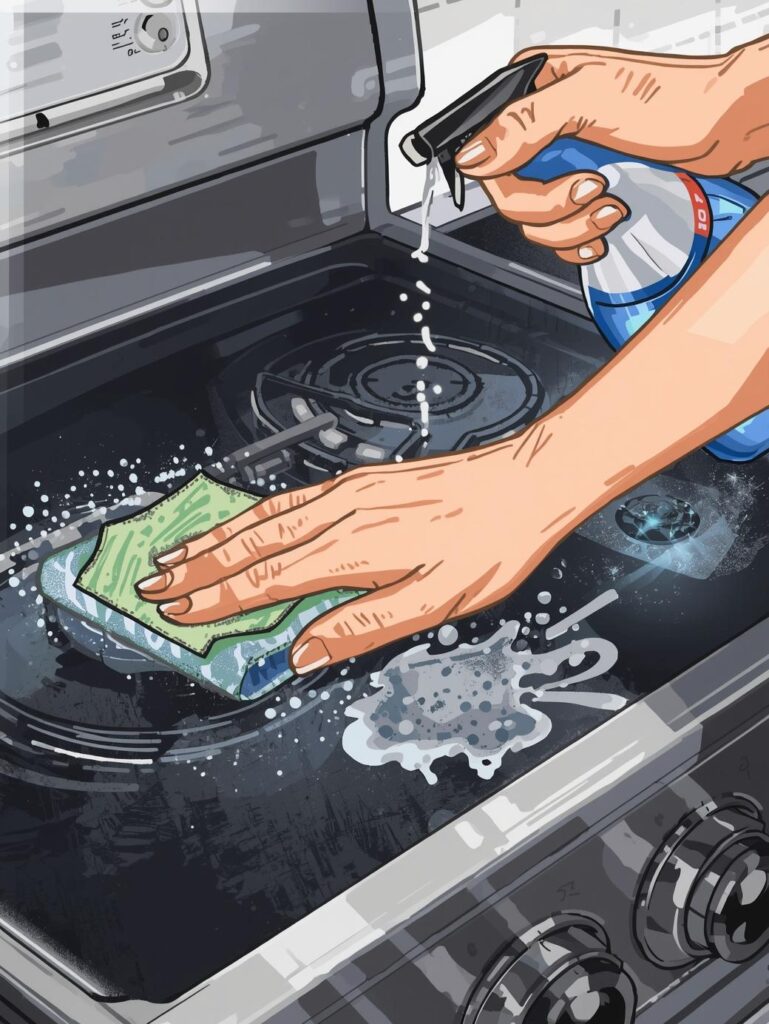
Step 2: Surface Cleaning
- Wipe loose crumbs and debris with a dry cloth.
- Spray the stove surface with a mixture of vinegar and water (1:1 ratio).
- Let it sit for 5–10 minutes to loosen grease.
- Wipe with a microfiber cloth.
Step 3: Deep Cleaning Stubborn Grease
- Make a paste of baking soda and water.
- Apply the paste to greasy spots.
- Let it sit for 15 minutes.
- Scrub gently with a sponge or brush.
- Wipe clean with a damp cloth.
Step 4: Cleaning Stove Grates and Burners
- After soaking, scrub grates and burners with a brush.
- For stubborn grease, sprinkle baking soda and spray vinegar.
- Let it fizz for 10 minutes, then scrub.
- Rinse thoroughly and dry before reassembling.
Step 5: Knobs and Small Crevices
- Use a toothbrush dipped in soapy water to scrub knobs and seams.
- Wipe with a damp cloth.
- Dry completely to prevent moisture damage.
Step 6: Final Touch
- Wipe the entire stove with a clean, damp cloth.
- Buff with a dry microfiber cloth for a streak-free shine.
- Reassemble all parts.
Natural Cleaning Solutions vs. Commercial Cleaners
|
Solution |
Pros |
Cons |
|---|---|---|
|
Baking soda & vinegar |
Non-toxic, eco-friendly, inexpensive |
May require more scrubbing |
|
Dish soap |
Readily available, effective on light grease |
Less effective on heavy buildup |
|
Commercial degreasers |
Fast and powerful |
Contains chemicals, may need ventilation |
Cleaning Frequency Guide
|
Cooking Frequency |
Recommended Cleaning |
|---|---|
|
Daily cooking |
Wipe down after each use, deep clean weekly |
|
Occasional cooking |
Wipe down after use, deep clean monthly |
|
Heavy frying |
Wipe down after each use, deep clean twice weekly |
Common Mistakes to Avoid
- Using steel wool (scratches surfaces).
- Spraying cleaner directly on hot surfaces.
- Forgetting to dry grates and burners (causes rust).
- Ignoring small crevices where grease builds up.
Graph: Time vs. Grease Buildup
Grease Buildup Over Time | | * | * | * | * |* +——————- 1w 2w 3w 4w (Time in weeks)
The graph shows how grease buildup increases significantly if the stove is not cleaned weekly.
Tips for Preventing Grease Buildup
- Use splatter guards when frying.
- Wipe spills immediately after cooking.
- Line drip pans with foil for easy cleanup.
- Keep a spray bottle of vinegar solution handy.
Quick Cleaning Hacks
- Lemon and salt: Cut a lemon in half, dip in salt, and scrub greasy spots.
- Steam method: Boil water in a pot on the stove; the steam loosens grease for easier wiping.
- Dryer sheets: Soak greasy grates with a dryer sheet in warm water to loosen grime.
Long-Term Maintenance Plan
|
Task |
Frequency |
|---|---|
|
Wipe stove surface |
After every use |
|
Clean burners & grates |
Weekly |
|
Deep clean stove |
Monthly |
|
Check for gas leaks (gas stoves) |
Every 6 months |
|
Professional servicing |
Annually |
Advanced Stove Cleaning Techniques
For Glass-Top Stoves
- Use a razor blade scraper at a 45-degree angle to lift burnt-on grease.
- Apply a glass stove cleaner and buff with a microfiber cloth.
- Avoid abrasive sponges that can scratch the surface.
For Gas Stoves
- Check burner holes for clogs. Use a pin or paperclip to clear them.
- Ensure burners are completely dry before reassembling.
- Wipe the gas knobs carefully to avoid moisture seeping inside.
For Electric Coil Stoves
- Remove coils and wipe them with a damp cloth (never submerge in water).
- Clean drip pans with baking soda paste.
- Replace damaged or rusted drip pans for a fresh look.
Eco-Friendly Cleaning Alternatives
|
Ingredient |
How to Use |
|---|---|
|
Lemon juice |
Mix with water for a natural degreaser |
|
Cornstarch |
Sprinkle on grease, then wipe with a damp cloth |
|
Club soda |
Spray on stove surface and wipe for light grease |
|
Hydrogen peroxide |
Mix with baking soda for stubborn stains |
These alternatives are safe for households with children and pets, while still being effective against grease.
Troubleshooting Stubborn Grease
- Burnt-on grease: Apply a thick baking soda paste, cover with a damp cloth, and leave overnight. Scrub in the morning.
- Sticky residue: Use rubbing alcohol on a cloth to dissolve sticky spots.
- Yellow grease stains: Mix hydrogen peroxide with baking soda and scrub gently.
Cost Comparison: DIY vs. Professional Cleaning
|
Option |
Average Cost |
Pros |
Cons |
|---|---|---|---|
|
DIY cleaning |
$5–$15 for supplies |
Affordable, flexible, eco-friendly |
Takes time and effort |
|
Professional cleaning |
$80–$150 per session |
Thorough, saves time |
Expensive, requires scheduling |
DIY cleaning is significantly cheaper over time compared to professional services.
Safety Precautions
- Always unplug electric stoves before cleaning.
- Ensure gas stoves are turned off completely.
- Ventilate the kitchen when using commercial cleaners.
- Wear gloves to protect skin from harsh chemicals.
Frequently Asked Questions
Q: Can I use oven cleaner on my stove top?
A: Oven cleaner is too harsh for most stove tops and can damage the finish. Stick to gentler solutions.
Q: How do I remove grease from stainless steel stoves?
A: Use a vinegar-water spray, then buff with a microfiber cloth in the direction of the grain.
Q: What’s the fastest way to clean after frying?
A: Wipe immediately with a vinegar solution before grease hardens.
Q: Can I put stove grates in the dishwasher?
A: Some grates are dishwasher-safe, but check the manufacturer’s instructions first.
Conclusion
Cleaning a greasy stove doesn’t have to be overwhelming.
With the right tools, natural cleaners, and a consistent routine, it’s possible to keep the stove spotless and efficient.
Regular maintenance prevents stubborn buildup, saves time, and ensures a safer, more pleasant cooking environment.
By following these steps and tips, any stove can stay grease-free and sparkling for years to come.