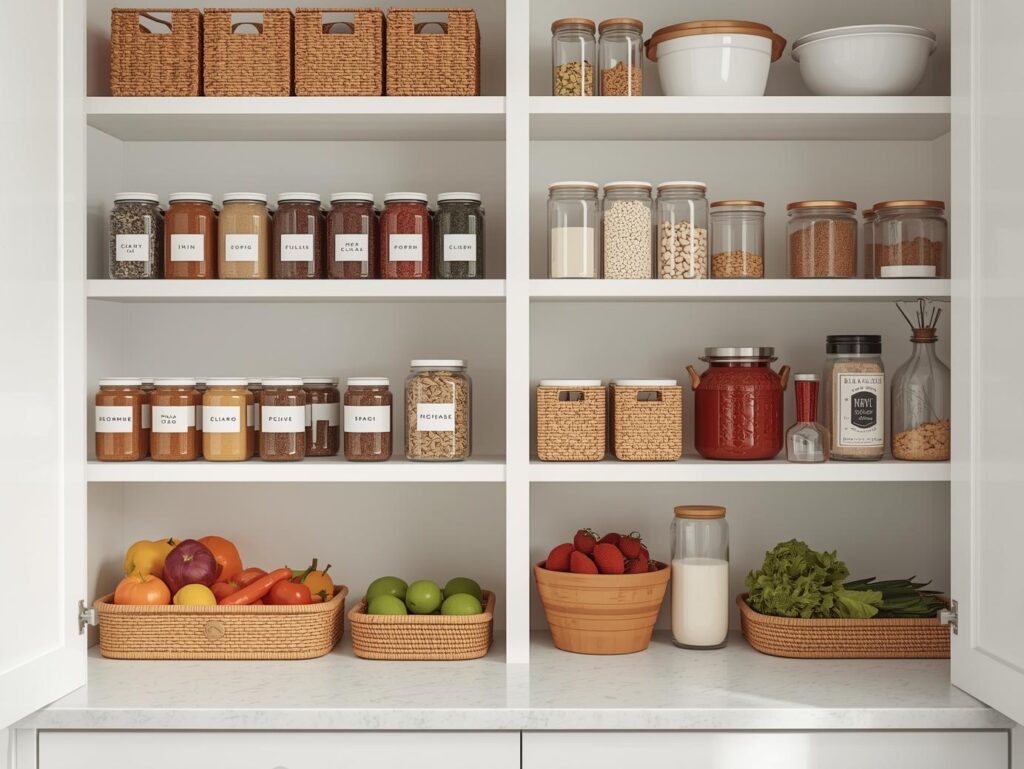
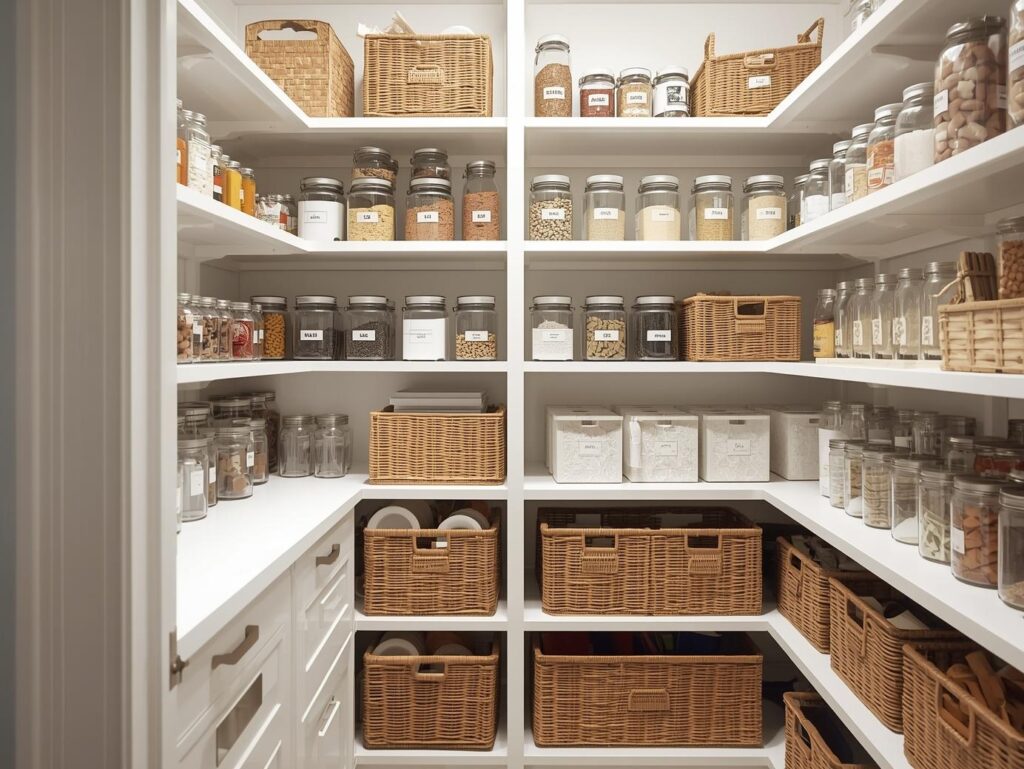
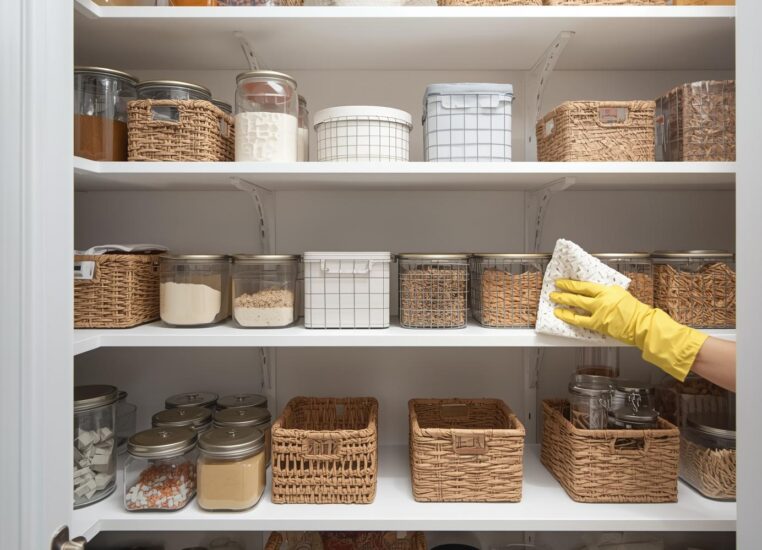
A well-organized pantry is every home cook’s dream.
It saves time, reduces food waste, and makes meal prep so much easier. But let’s be honest, pantries can get messy fast.
Between half-empty cereal boxes, expired cans, and random snack bags, it doesn’t take long for things to spiral out of control. The good news?
With a little effort and a few smart strategies, you can turn your pantry into a clean, functional, and beautiful space that actually makes you want to cook.
This guide covers everything from deep cleaning to smart organization systems, complete with tables, tips, and practical advice to help you create a pantry that works for your lifestyle.
Why Pantry Organization and Cleaning Matter

A clean, organized pantry isn’t just about aesthetics, it’s about efficiency and health.
|
Benefit |
Why It Matters |
|---|---|
|
Saves Time |
You can find ingredients quickly without rummaging. |
|
Reduces Waste |
You’ll use what you have before it expires. |
|
Saves Money |
No more buying duplicates of what’s already there. |
|
Improves Hygiene |
Prevents pests and mold from developing. |
|
Makes Cooking Easier |
Everything is visible and within reach. |
Step 1: Empty the Pantry
The first step to any successful pantry overhaul is to start with a blank slate.
- Remove everything. Take out every can, box, and jar.
- Group items by category as you go: grains, snacks, canned goods, baking supplies, etc.
- Check expiration dates. Toss anything expired or stale.
- Wipe down containers before setting them aside.
This step might feel overwhelming, but it’s the only way to truly see what you have and what needs to go.
Step 2: Deep Clean the Shelves
Once the pantry is empty, it’s time to clean.
|
Area |
Cleaning Method |
|---|---|
|
Shelves |
Wipe with warm, soapy water or vinegar solution. |
|
Corners & Crevices |
Use a handheld vacuum or small brush. |
|
Walls & Doors |
Wipe with a damp cloth to remove dust. |
|
Floor |
Sweep and mop thoroughly. |
Tip: If you have wire shelves, line them with shelf liners or plastic mats to prevent small items from tipping over.
Step 3: Take Inventory
Before putting anything back, take stock of what you have.
|
Category |
Examples |
Notes |
|---|---|---|
|
Grains & Pasta |
Rice, quinoa, spaghetti, oats |
Store in airtight containers. |
|
Canned Goods |
Soups, beans, vegetables |
Group by type and expiration date. |
|
Baking Supplies |
Flour, sugar, baking soda |
Label and store in clear jars. |
|
Snacks |
Chips, nuts, granola bars |
Use bins or baskets. |
|
Condiments & Oils |
Vinegar, olive oil, sauces |
Keep on lower shelves to prevent spills. |
|
Breakfast Items |
Cereal, pancake mix |
Store together for easy mornings. |
This inventory helps you plan your storage layout and avoid overbuying in the future.
Step 4: Plan Your Layout
Think about how you use your pantry. The goal is to make it functional and easy to maintain.
|
Zone |
What to Store |
Tips |
|---|---|---|
|
Eye-Level Shelves |
Everyday items like snacks, pasta, and canned goods |
Keep frequently used items within reach. |
|
Top Shelves |
Bulk items, backups, or rarely used ingredients |
Use labeled bins for easy access. |
|
Lower Shelves |
Heavy items like flour, oils, or appliances |
Avoid storing glass jars too low if you have kids. |
|
Door Racks |
Spices, condiments, or small snacks |
Use adjustable racks for flexibility. |
Tip: Keep similar items together, grouping by category makes it easier to find what you need.
Step 5: Choose the Right Storage Containers
The right containers make a huge difference in keeping your pantry organized and clean.
|
Container Type |
Best For |
Pros |
Cons |
|---|---|---|---|
|
Airtight Plastic Containers |
Flour, sugar, cereal |
Keeps food fresh, stackable |
Can be pricey |
|
Glass Jars |
Pasta, grains, snacks |
Looks great, eco-friendly |
Breakable |
|
Baskets & Bins |
Snacks, packets, small items |
Easy to move and clean |
Not airtight |
|
Lazy Susans |
Oils, sauces, condiments |
Maximizes corner space |
Takes up more room |
|
Can Racks |
Canned goods |
Keeps cans visible and accessible |
Requires shelf space |
Tip: Choose clear containers so you can see what’s inside at a glance.
Step 6: Label Everything
Labels are the secret to maintaining an organized pantry.
- Use a label maker, chalkboard labels, or simple masking tape and a marker.
- Label both the front and top of containers for easy identification.
- Include expiration dates on the bottom or back of containers.
Example Labeling System:
|
Category |
Label Example |
|---|---|
|
Grains |
“Brown Rice – Opened 3/25/25” |
|
Snacks |
“Trail Mix – Best by 10/25” |
|
Baking |
“All-Purpose Flour – Refill by 6/25” |
Step 7: Restock Thoughtfully
Now that everything is clean and organized, it’s time to put items back in a way that makes sense.
- Start with the heaviest items on the bottom shelves.
- Place everyday items at eye level.
- Use bins for loose items like snack packs or seasoning packets.
- Keep similar items together all baking supplies in one area, all breakfast items in another.
Tip: Leave a little extra space for new groceries. Overstuffing leads to clutter.
Step 8: Maintain Regularly
An organized pantry only stays that way with regular upkeep.
|
Task |
Frequency |
|---|
Cleaning Tips for a Fresh Pantry
1. Use Natural Cleaners
Avoid harsh chemicals near food. A simple mix of vinegar and water works wonders.
DIY Cleaner Recipe:

- 1 cup white vinegar
- 1 cup warm water
- 1 tablespoon baking soda (optional for tough grime)
Spray, wipe, and dry thoroughly.
2. Keep Pests Away
- Store dry goods in airtight containers.
- Wipe up spills immediately.
- Place bay leaves or cloves in corners they naturally repel insects.
3. Deodorize
If your pantry smells musty, place an open box of baking soda or a small bowl of coffee grounds on a shelf to absorb odors.
Organizing Small Pantries
Small pantries can still be highly functional with the right setup.
|
Challenge |
Solution |
|---|---|
|
Limited space |
Use stackable containers and tiered shelves. |
|
Deep shelves |
Add pull-out bins or baskets. |
|
No built-in pantry |
Use a freestanding shelving unit or cabinet. |
|
Cluttered look |
Stick to matching containers for a cohesive style. |
Tip: Use the back of the pantry door for extra storage install hooks, racks, or hanging baskets.
Organizing Walk-In Pantries
If you’re lucky enough to have a walk-in pantry, maximize the space with zones and smart storage.
|
Zone |
Purpose |
Storage Ideas |
|---|---|---|
|
Main Shelves |
Everyday items |
Clear bins, lazy Susans, can racks |
|
Corner Shelves |
Bulk items or appliances |
Large baskets or bins |
|
Floor Space |
Heavy items |
Stackable bins or crates |
|
Door Area |
Spices, snacks |
Over-the-door organizers |
Keep the center area clear for easy movement.
Pantry Organization for Families
When multiple people use the pantry, things can get messy fast.
|
Problem |
Solution |
|---|---|
|
Kids mixing up snacks |
Create a “kids’ zone” with labeled bins. |
|
Family members not putting things back |
Use clear labels and designated spots. |
|
Too many open packages |
Use clips or jars to reseal items. |
|
Different dietary needs |
Assign shelves or bins for each person. |
Tip: Keep healthy snacks at eye level for kids and treats higher up.
Pantry Organization for Bakers
If you love baking, dedicate a section of your pantry to baking essentials.
|
Category |
Storage Tip |
|---|---|
|
Flour & Sugar |
Store in airtight containers with measuring cups inside. |
|
Spices & Extracts |
Use a lazy Susan or tiered rack. |
|
Baking Tools |
Keep in a labeled bin or drawer. |
|
Decorations |
Store sprinkles and cupcake liners in small jars. |
This setup makes it easy to grab everything you need for baking without searching.
Pantry Organization for Meal Preppers
Meal prepping is easier when your pantry is organized for efficiency.
|
Category |
Storage Tip |
|---|---|
|
Grains & Legumes |
Store in clear jars with cooking instructions on labels. |
|
Canned Goods |
Arrange by type and expiration date. |
|
Snacks & Bars |
Use bins labeled “Grab & Go.” |
|
Meal Kits |
Keep ingredients for specific meals in separate baskets. |
Tip: Keep a notepad or whiteboard nearby to jot down items that need restocking.
Pantry Organization for Bulk Buyers
Buying in bulk saves money but can overwhelm your pantry if not managed properly.
|
Problem |
Solution |
|---|---|
|
Too many duplicates |
Decant bulk items into smaller containers. |
|
Overflowing shelves |
Store extras in a separate storage area. |
|
Hard-to-reach items |
Use labeled bins for easy access. |
Tip: Keep only one open package of each item in the pantry store the rest elsewhere.
Pantry Organization for Healthy Eating
A well-organized pantry can support healthy habits.
|
Goal |
Strategy |
|---|---|
|
Eat more whole foods |
Keep grains, nuts, and seeds visible. |
|
Avoid junk food |
Store treats out of sight or on higher shelves. |
|
Encourage hydration |
Keep tea, coffee, and water flavorings organized. |
|
Plan balanced meals |
Group ingredients by meal type (breakfast, lunch, dinner). |
Pantry Organization for Small Apartments
Even if you don’t have a traditional pantry, you can still create one.
|
Space |
Idea |
|---|---|
|
Cabinet |
Use stackable bins and shelf risers. |
|
Closet |
Add adjustable shelves and lighting. |
|
Corner of Kitchen |
Use a tall shelving unit or rolling cart. |
|
Under Counter |
Store dry goods in labeled containers. |
Tip: Use vertical space install hooks or racks on walls for extra storage.
Pantry Cleaning Schedule
|
Task |
Frequency |
|---|---|
|
Wipe shelves |
Monthly |
|
Check expiration dates |
Quarterly |
|
Deep clean |
Twice a year |
|
Reorganize |
As needed |
|
Pest check |
Every few months |
Common Pantry Mistakes to Avoid

|
Mistake |
Why It’s a Problem |
Better Approach |
|---|---|---|
|
Overstocking |
Leads to waste and clutter |
Buy only what you’ll use in a few months |
|
Ignoring expiration dates |
Food goes bad unnoticed |
Rotate items regularly |
|
Mixing categories |
Hard to find things |
Group by type or use |
|
Using mismatched containers |
Looks messy |
Stick to a consistent style |
|
Not labeling |
Causes confusion |
Label everything clearly |
Quick Pantry Refresh (30-Minute Routine)
- Remove expired or empty items.
- Wipe down visible shelves.
- Straighten bins and containers.
- Refill jars and restock snacks.
- Sweep or vacuum the floor.
A quick refresh keeps your pantry looking great between deep cleans.
Fun Facts About Pantries
- The word “pantry” comes from the Old French paneterie, meaning “bread room.”
- In the 1800s, pantries were separate rooms used to store silverware and fine china.
- Organized pantries can reduce grocery bills by up to 20%.
- The average household throws away 30% of its food each year an organization helps prevent that.
Frequently Asked Questions
How often should I clean my pantry?
Do a light clean monthly and a deep clean every 6 months.
What’s the best way to keep pests out?
Store food in airtight containers and wipe up spills immediately.
How can I make my pantry look more stylish?
Use matching containers, add labels, and keep colors neutral for a cohesive look.
What should I do with expired food?
Compost what you can and recycle packaging.
How do I maintain my pantry long-term?
Adopt a “one in, one out” rule when you buy something new, use up or remove something old.
Final Thoughts
A clean, organized pantry makes life easier in so many ways.
It saves time, reduces waste, and makes cooking more enjoyable.
The key is to start with a deep clean, set up a system that fits your lifestyle, and maintain it with small, regular habits.
Whether you have a walk-in pantry or just a few shelves, these tips will help you create a space that’s functional, beautiful, and easy to keep tidy.
Once your pantry is organized, you’ll wonder how you ever lived without it.


