
Showers accumulate soap scum, hard water stains, mildew, and mineral buildup faster than most homeowners expect. Within weeks, that sparkling glass or pristine tile can start to look dingy. The good news? You don’t need expensive commercial cleaners or harsh chemicals. With the right techniques and household items you probably already own, you can restore your shower to like-new condition in under an hour, and keep it that way with minimal weekly effort.
This complete guide walks you through seven proven cleaning methods, prevention strategies, and a maintenance schedule that takes the guesswork out of shower care.
1. The Baking Soda & Vinegar Method (The Classic Powerhouse)
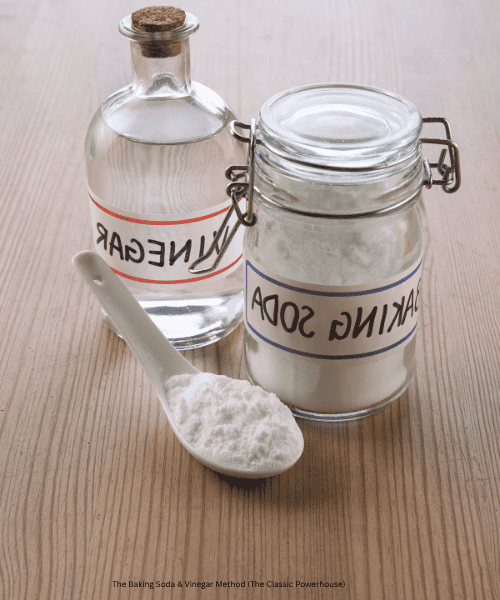
Why it works: When baking soda and vinegar mix, they create a chemical reaction that lifts stubborn buildup without toxic fumes. This combination is safe for nearly all shower surfaces and breaks down soap scum, light mildew, and mineral deposits.
What you’ll need:
- Baking soda
- White vinegar
- Spray bottle
- Scrub brush or sponge
- Gloves (optional)
Step-by-step:
- Spray the vinegar: Fill a spray bottle with white vinegar and spray down all shower surfaces, walls, floor, glass, and fixtures. Let it sit for 2–3 minutes.
- Apply the baking soda: Sprinkle baking soda directly over the vinegar-sprayed surfaces. You’ll see immediate fizzing. This is the reaction doing the work.
- Let it dwell: Wait 10–15 minutes. The longer you let it sit, the more it breaks down stubborn stains. For heavy buildup, wait 20 minutes.
- Scrub: Use a soft-bristle brush or sponge in circular motions. For grout lines, use an old toothbrush to get into crevices.
- Rinse thoroughly: Rinse with hot water until all residue is gone.
Pro tips:
- Use a spray bottle for even coverage, it’s more effective than pouring directly.
- For glass shower doors, wipe down with a microfiber cloth after rinsing to prevent streaks.
- This method is safe for tile, grout, glass, and most fixtures. Avoid on natural stone (limestone, marble) as vinegar can etch.
Best for: Regular maintenance, soap scum removal, light mildew, budget-friendly deep cleans.
2. Dish Soap & Baking Soda Paste (For Textured Surfaces)
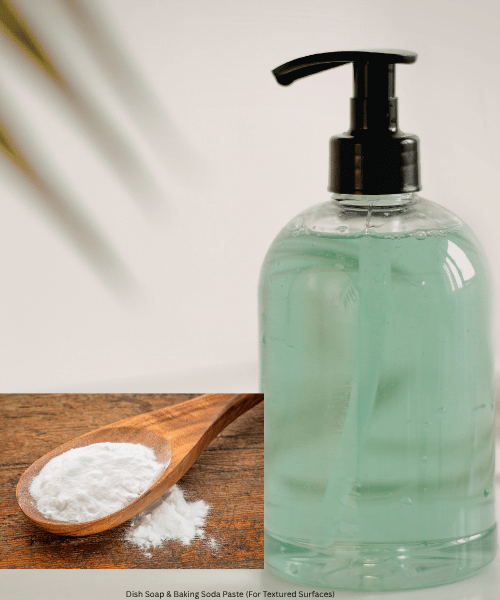
Why it works: Baking soda has mild abrasive properties that scrub without scratching, while dish soap cuts through grease and soap residue. This method works especially well on textured tile and stubborn grout stains.
What you’ll need:
- Baking soda
- Dish soap (Dawn or similar)
- Small bowl
- Scrub brush
- Sponge or cloth
Step-by-step:
- Mix the paste: In a small bowl, combine 1/2 cup baking soda with 3 tablespoons of dish soap. Mix until you reach a spreadable paste consistency. (If it’s too thick, add a little water. If it’s too thin, add more baking soda.)
- Apply thickly: For vertical surfaces like walls, apply the paste in generous amounts. It will naturally slide down, so work from top to bottom. For horizontal surfaces like the shower floor, you can apply more freely.
- Let it sit: Leave the paste on for 10–15 minutes. This gives the soap time to break down oils and the baking soda to lift buildup.
- Scrub firmly: Use your scrub brush with medium pressure. Pay special attention to grout lines and any discolored spots.
- Rinse completely: Rinse with hot water until all paste residue is gone. Any leftover paste will feel gritty if not fully removed.
Pro tips:
- Apply the paste in smaller sections if you’re working alone, it’s easier to manage and less mess.
- For textured tile, a soft grout brush or old toothbrush helps you get into the pores where mildew hides.
- If the mixture slides off vertical surfaces too fast, make it thicker by reducing the soap or using a spray-on approach instead.
Best for: Grout lines, textured tile, heavy soap scum, floor cleaning.
3. Lemon Juice for Hard Water Stains (The Natural Acid Cleaner)
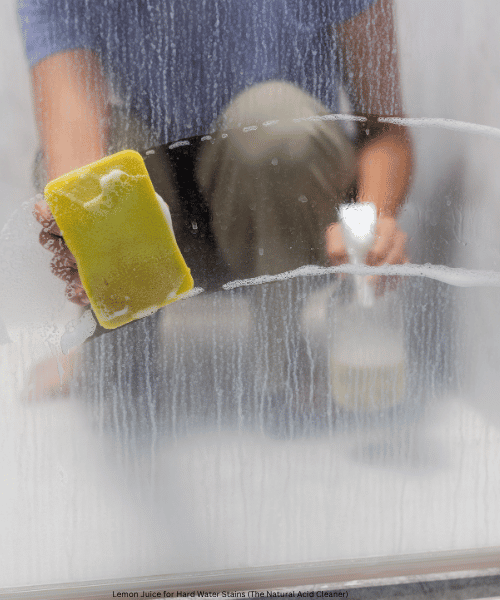
Why it works: Citric acid in lemon juice dissolves mineral deposits and hard water stains without the harsh smell of vinegar. It’s gentler on some surfaces and leaves a fresh scent.
What you’ll need:
- Fresh lemon juice or bottled lemon juice
- Spray bottle
- Soft cloth or sponge
- Optional: baking soda for extra scrubbing power
Step-by-step:
- Spray lemon juice: Pour fresh-squeezed or bottled lemon juice into a spray bottle. Spray all affected surfaces, especially glass doors, chrome fixtures, and any visible white or cloudy mineral deposits.
- Let it soak: For light stains, 5–10 minutes is enough. For heavy deposits, let it sit 15–20 minutes.
- Wipe or scrub: Use a soft cloth to wipe down the surfaces. For stubborn stains, sprinkle baking soda on top and gently scrub with a soft brush.
- Rinse thoroughly: Rinse with clean water.
- Dry for shine: Wipe down glass and chrome with a dry, lint-free cloth to prevent water spots.
Fresh vs. bottled juice:
- Fresh-squeezed is more potent but requires more lemons.
- Bottled lemon juice is convenient, cheaper, and works just as well.
- Avoid lemon juice with added preservatives if possible.
Pro tips:
- Lemon juice is safe for natural stone, unlike vinegar. If you have marble, granite, or limestone in your shower, choose lemon over vinegar.
- Cut a lemon in half and rub it directly on chrome fixtures for a quick shine.
- The smell is a bonus, your shower will smell fresh and citrusy.
Best for: Hard water stains, glass shower doors, polished stone, chrome fixtures, natural stone showers.
4. Steam Cleaning (With or Without a Machine)
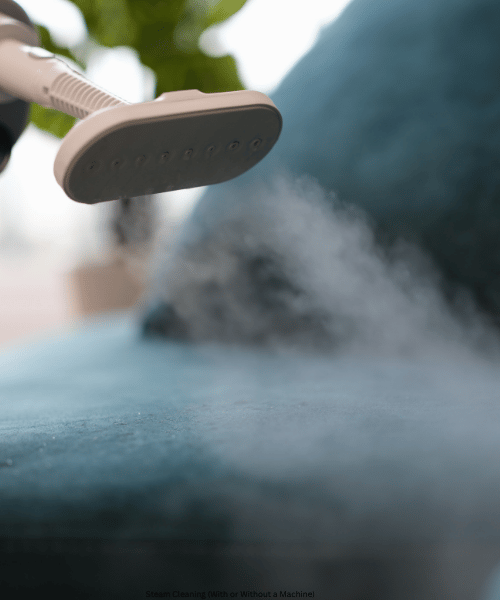
Why it works: Steam reaches high temperatures that kill mold spores and mildew at the source while loosening buildup without chemicals. It’s effective, safe, and chemical-free.
Two methods:
Method A: Using a Handheld Steamer
What you’ll need:
- Handheld steam cleaner (optional investment; around $30–100)
- Water
- Microfiber cloth or old towels
Step-by-step:
- Fill and heat: Fill your steamer’s water tank and let it heat according to the manufacturer’s instructions (usually 30 seconds to 2 minutes).
- Test on an inconspicuous area: Always test on a small, hidden spot first to ensure the heat won’t damage the surface.
- Steam from top to bottom: Start at the top of your shower walls and move downward, holding the nozzle about 3–4 inches away from the surface.
- Wipe as you go: Use a microfiber cloth or old towel to wipe away loosened grime.
- Focus on problem areas: Spend extra time on grout lines, tile corners, and anywhere you see mildew.
- Finish with a rinse: A quick cold-water rinse removes any remaining residue.
Method B: DIY Kettle Steam (No Machine Required)
What you’ll need:
- A kettle or pot of boiling water
- Caution and thick towels or gloves
- Microfiber cloth or brush
Step-by-step:
- Boil water: Fill a kettle or pot with water and bring it to a rolling boil.
- Keep ventilation on: Turn on your bathroom exhaust fan to manage moisture.
- Use the steam: Carefully hold the pot or kettle near (not touching) the shower surface. The rising steam will help loosen buildup.
- Wipe down: Use a cloth or soft brush to scrub away loosened grime.
- Be safe: Wear gloves, keep your hands away from the direct heat, and avoid scalding yourself.
Safety notes:
- Steam is hot. Never point it directly at yourself.
- Ensure good ventilation to avoid excessive moisture buildup, which can promote mildew elsewhere in the bathroom.
- Let surfaces cool slightly before touching after steaming.
- Some grout and certain tile finishes can be damaged by extreme heat. Test first.
Pro tips:
- Steam is especially effective as a prep step before using other cleaners. It loosens buildup so scrubbing is easier.
- Handheld steamers are worth the investment if you clean showers frequently or have a whole house to maintain.
Best for: Killing mildew spores, loosening buildup before scrubbing, chemical-free cleaning, preventing regrowth.
5. Rubbing Alcohol for Fast Drying & Mildew Prevention
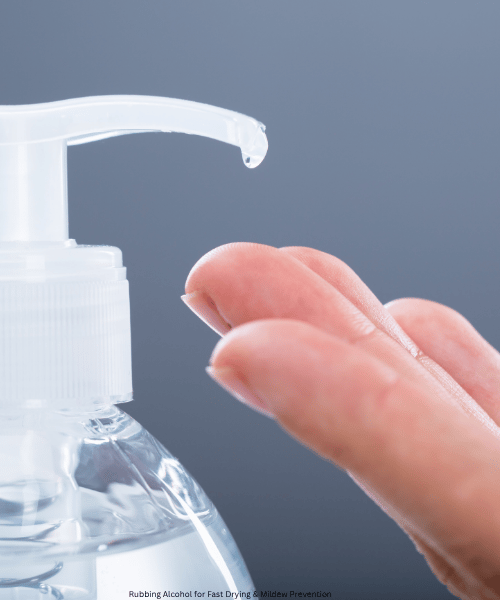
Why it works: Rubbing alcohol evaporates quickly and kills mold and mildew spores on contact. It dries so fast that water doesn’t have time to pool and encourage mold growth.
What you’ll need:
- 70% or 90% isopropyl rubbing alcohol
- Spray bottle
- Cloth or squeegee
Step-by-step:
- Mix (optional): For daily prevention, mix equal parts rubbing alcohol and water in a spray bottle. For heavy mildew, use straight rubbing alcohol.
- Spray thoroughly: After your shower (or daily, if targeting prevention), spray all surfaces, walls, glass, floor, and fixtures.
- Let it dry: Alcohol evaporates within seconds to a minute. You don’t need to wipe or rinse.
- Optional squeegee: If you prefer, squeegee the walls after spraying to remove excess liquid and help the alcohol dry faster.
Usage schedule:
- Prevention mode: Spray daily or 3–4 times per week to prevent mildew growth. This is your maintenance tool.
- Heavy mildew: Use straight alcohol, let it sit for 5–10 minutes, then wipe or rinse.
Pro tips:
- 70% isopropyl alcohol (the standard drugstore version) works great and is affordable.
- 90% alcohol evaporates faster but is slightly more drying on skin, gloves optional.
- This is especially effective in bathrooms with poor ventilation or high humidity.
- Rubbing alcohol is safe for all surfaces: tile, glass, fixtures, grout.
Best for: Daily prevention, mildew control, fast-drying, high-humidity bathrooms, maintaining results between deep cleans.
6. The Magic Eraser Method (For Stubborn Spots)
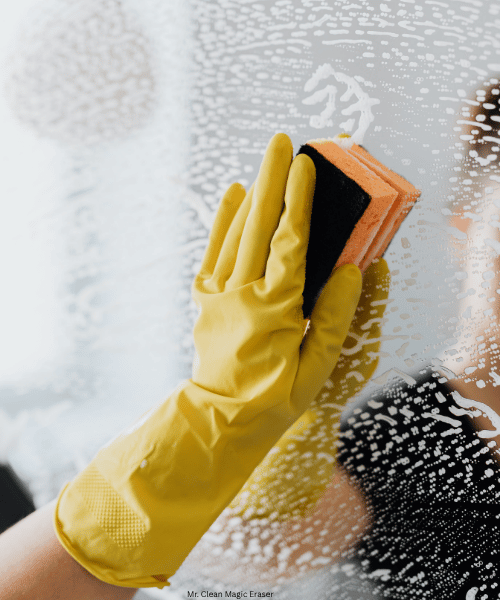
Why it works: Magic erasers (melamine foam) are mildly abrasive sponges that dissolve stains without adding harsh chemicals. They’re especially effective on soap scum, water rings, and stubborn discoloration.
What you’ll need:
- Magic erasers (Mr. Clean Magic Eraser or similar)
- Water
- Gloves (recommended)
Step-by-step:
- Dampen the eraser: Wet your magic eraser under warm water. Wring out excess water, you want it damp, not soaking.
- Test first: Try on an inconspicuous area to ensure the surface won’t be damaged. (Avoid natural stone and some delicate finishes.)
- Scrub gently: Use light to medium pressure in circular motions. The eraser will start to break down and remove stains almost immediately.
- Check progress: After a few passes, rinse and check. You’ll likely see dramatic improvement.
- Rinse thoroughly: Once satisfied, rinse the area completely to remove any eraser residue.
- Replace when worn: As the eraser breaks down, grab a new one, they’re cheap and disposable.
Surfaces to avoid:
- Natural stone (marble, granite, limestone), the abrasiveness can damage the finish.
- Textured or matte finishes, erasers can leave shiny patches.
- Delicate tile glazes, test first.
- Most chrome and polished fixtures are fine, but test first.
Pro tips:
- Magic erasers work best on glossy tile and glass, truly impressive results.
- Use them as a quick spot-cleaner between deep cleans.
- They’re inexpensive, so it’s worth keeping a few packs on hand.
- Combine with a spray of vinegar before erasing for tough stains.
Best for: Stubborn soap scum, water rings, quick spot cleaning, glazed tile, glass.
7. Oxygen Bleach for Deep Restoration (The Heavy-Duty Method)
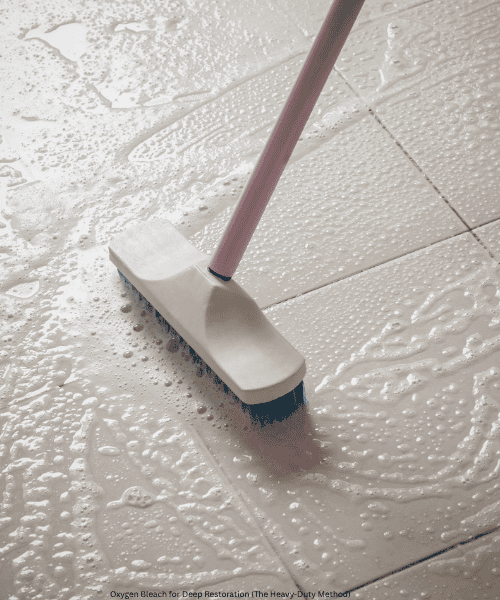
Why it works: Oxygen bleach (like OxiClean) is a safer alternative to chlorine bleach. It kills mold and mildew at the root, restores grout to its original color, and is septic-safe. It’s your best bet for heavily soiled showers or quarterly deep cleans.
What you’ll need:
- Oxygen bleach powder (OxiClean, Clorox 2, or similar)
- Water
- Spray bottle or bucket
- Scrub brush
- Gloves (important)
- Good ventilation
Step-by-step:
- Mix the solution: Follow the product’s instructions, typically, dissolve 1–2 scoops of powder in a spray bottle or bucket of warm water. Let it sit for a minute to activate.
- Apply generously: Spray or pour the solution onto all surfaces, paying special attention to grout lines and areas with visible mildew. Let it soak.
- Dwell time: Let the oxygen bleach work for 10–20 minutes. For heavily stained grout, 30 minutes is fine. The longer it sits, the better it works.
- Scrub: Use a stiff brush, especially on grout. You’ll see discoloration lift as you scrub.
- Rinse thoroughly: Rinse multiple times with clean water until the solution is completely gone.
- Ventilate: Open windows and keep the fan running to air out the bathroom.
Safety notes:
- Wear gloves, oxygen bleach is still a cleaning agent.
- Ensure good ventilation. Don’t mix with other cleaners.
- Oxygen bleach is gentler than chlorine bleach and is septic-safe, making it eco-friendly.
- Store the powder in a cool, dry place. The solution loses potency over time, so mix only what you’ll use.
Pro tips:
- For stubborn mildew, let the solution dwell for the full 30 minutes before scrubbing.
- Oxygen bleach is safe for nearly all shower surfaces, including natural stone (though test first on stone).
- This is your quarterly or bi-annual deep clean, it truly restores a shower.
Best for: Heavy mildew, grout restoration, quarterly deep cleans, stubborn stains, eco-conscious cleaning.
Quick Cost Comparison
| Method | Initial Cost | Cost Per Use | Reusability | Best Budget Pick? |
|---|---|---|---|---|
| Baking Soda & Vinegar | $5-8 | $0.25 | Infinite | ✅ Yes |
| Dish Soap & Baking Soda Paste | $5-8 | $0.15 | Infinite | ✅ Yes |
| Lemon Juice | $3-6 | $0.30 | Infinite | ✅ Yes |
| Steam (Handheld Machine) | $30-100 | $0.10 | 50+ uses | ⭐ Best long-term |
| Steam (DIY Kettle) | $0 | $0.05 | Infinite | ✅ Yes |
| Rubbing Alcohol | $4-6 | $0.20 | Infinite | ✅ Yes |
| Magic Erasers | $6-10 (pack of 4) | $1.50-2.50 | Single-use | ⚠️ Good for spots |
| Oxygen Bleach | $8-15 | $0.75 | Infinite | ⭐ Best heavy-duty |
Bottom line: Baking soda, vinegar, and rubbing alcohol are your cheapest options and handle 90% of shower cleaning. Oxygen bleach is your best investment for quarterly deep cleans. A handheld steamer pays for itself in 20-30 uses if you clean regularly.
Prevention: The Real Hack (How to Stay Ahead)
Deep cleaning is important, but prevention is where the real magic happens. If you prevent buildup, you’ll never need a grueling scrub session. Here’s the truth: 80% of deep cleaning work can be prevented with daily and weekly habits.
Daily Habits (Takes 1 Minute)
After every shower:
- Run the exhaust fan: Turn on your bathroom fan during your shower and leave it running for 20–30 minutes after you’re done. This is non-negotiable. It removes humidity that feeds mildew.
- Squeegee the glass: If you have a glass shower door, squeegee it dry. This prevents water spots and mildew.
- Spray with rubbing alcohol: Use the rubbing alcohol spray method (from Method 5 above) on all surfaces. It dries in seconds and prevents mildew growth.
- Wipe down fixtures: A quick wipe of chrome and stainless steel prevents water spots.
Why this works: Mildew thrives in moisture. Remove the moisture, remove the environment mildew needs.
Weekly Light Clean (Takes 10 Minutes)
Once a week:
- Spray with baking soda & vinegar: Do a quick spray-down of all surfaces (Method 1). Let it fizz for 5 minutes, scrub lightly, rinse.
- Scrub the floor: The shower floor takes the most abuse. Scrub with a brush and baking soda paste to prevent slime buildup.
- Clean the drain: Pour hot water down the drain, then follow with baking soda and vinegar to keep it clear.
Monthly Deep Clean (Takes 30–45 Minutes)
Once a month, do a thorough clean using one of the deeper methods (Method 2, 3, or 4). Choose based on your needs:
- Soap scum dominant: Use Method 2 (baking soda paste).
- Hard water stains: Use Method 3 (lemon juice).
- Mildew or mold: Use Method 4 (steam) or Method 5 (alcohol).
Quarterly Restoration (Takes 1 Hour)
Every 3 months, do a full restoration using oxygen bleach (Method 7). This keeps grout bright and handles any buildup that slipped past your weekly routine.
Shower Cleaning Maintenance Schedule at a Glance
| Frequency | Task | Time | Method |
|---|---|---|---|
| Daily | Run fan, squeegee, alcohol spray | 1 min | Prevention habits |
| Weekly | Baking soda & vinegar spray, floor scrub, drain clean | 10 min | Method 1 + light scrub |
| Monthly | Full surface clean based on problem areas | 30–45 min | Method 2, 3, or 4 |
| Quarterly | Deep restoration with oxygen bleach | 1 hour | Method 7 |
Follow this schedule, and your shower will stay clean without backbreaking effort.
Frequently Asked Questions
How often should you clean a shower?
Daily prevention (fan, squeegee, alcohol) takes 1 minute. Weekly light cleaning takes 10 minutes. Monthly deep cleaning takes 30–45 minutes. Quarterly restoration takes 1 hour. This schedule prevents the need for occasional all-day scrubbing.
What kills shower mold?
Steam, oxygen bleach, and rubbing alcohol all kill mold effectively. For prevention, the best approach is removing moisture (exhaust fan) and regular alcohol sprays.
Can I mix vinegar and bleach?
No. Never mix vinegar (or any acid) with bleach. This creates toxic chlorine gas. If you’ve used bleach, rinse thoroughly and wait several hours before using vinegar.
Is baking soda safe for all shower surfaces?
Baking soda is safe for tile, glass, and grout. It’s mildly abrasive, so test on natural stone (marble, granite) first. For natural stone, stick with lemon juice or gentler methods.
Do I need a steam cleaner?
No. The DIY kettle method works, though a handheld steamer is a great investment if you clean frequently. They’re around $30–100 and last for years.
Why is my grout still discolored after cleaning?
If grout is deeply stained or has mold growth inside the pores, one clean might not fully restore it. Try Method 7 (oxygen bleach) with a 30-minute dwell time, or repeat monthly. If it’s permanently stained, you may need professional grout restoration or resealing.
Can I use bleach instead of oxygen bleach?
You can, but it’s not recommended. Chlorine bleach is harsher, creates fumes, and isn’t septic-safe. Oxygen bleach is nearly as effective, safer, and eco-friendly.
What’s the best method for heavy mildew?
Start with steam (Method 4) to kill spores, follow with oxygen bleach (Method 7) for deep restoration, then establish daily prevention (rubbing alcohol) to prevent regrowth.
The Bottom Line
Your shower doesn’t need to be a constant battle. With the right methods and a simple prevention routine, you can keep it sparkling clean with minimal effort. Start by choosing the method that matches your biggest problem:
- Soap scum: Baking soda & vinegar (Method 1) or baking soda paste (Method 2)
- Hard water stains: Lemon juice (Method 3)
- Mildew: Steam (Method 4) + alcohol prevention (Method 5)
- Stubborn spots: Magic erasers (Method 6)
- Heavy restoration: Oxygen bleach (Method 7)
Then, commit to 1 minute of daily prevention, fan, squeegee, alcohol spray. That’s it. You’ll save yourself hours of scrubbing every year, and your shower will thank you with a spotless shine.
Related Post: